


As the web evolves, more and more tools are available to take care of complex jobs for us. Why create a CRUD API from scratch when you can generate one in a few clicks? Why struggle with difficult search operations and queries, when simple and efficient solutions exist?
Maybe we're intimidated by new technologies, or concerned about investing time in tools that don't pan out. Or, more likely, we may not even be aware that a simple solution exists.
This tutorial will show you, in the fewest steps possible, how to use Strapi and Meilisearch to create a search-based web-app. First, let's get acquainted with our tools!
Introducing our Tools
Strapi
Strapi is a headless CMS. It provides a quick way to create a back-end where we can add and store data. The data is then available through a REST API without having to code anything or configure our database.
Meilisearch
Meilisearch is a fast, open-source search engine that's easy to use and deploy. The aim of Meilisearch is to create a relevant search experience out of the box in very few steps and with no configuration needed.
Requirements
To be able to follow this tutorial, you'll need the following:
- An open terminal or command prompt
- Node.js >= 10.16 and <= 14: this makes it possible to run JS outside a browser
- You can check the active version with the command
node --version - If your version of Node is outside this range, we recommend that you install nvm and use it to access Node 14
- You can check the active version with the command
- NPM and NPX >= 6.x (installed with Node.js): package managers that help you access and use JS libraries
Steps:
- Create a working directory
- Create Strapi Back End
- Start Meilisearch
- Connect Strapi and Meilisearch
- Conclusion
Create a directory for our app
We don't want our app to be all over the place! Let's create a directory where we will add every part of our application.
mkdir my-app
cd my-app
If you are not using a UNIX-based operating system please follow this guide to create a directory.
Create a back end using Strapi
In this section we are going to create and run a back-end using Strapi.
Our first step is to generate a Strapi Application. Go to your open terminal window and run the following command:
npx create-strapi-app@3.5.4 back --quickstart
This command creates a Strapi app in a new directory called back and opens the admin dashboard. Create an account or log in so that you have access.

http://localhost:1337/admin in your browserOnce you have created your account, you should be redirected to Strapi's admin dashboard. This is where we will configure our back-end API.
Our next step is to create a new collection type—in this case, it'll be a collection of restaurants. Complete step 3 of Strapi's quick start guide to continue.

After finishing step 3 of Strapi's quick start guide, a new collection named Restaurants should have appeared under Collection Types. If we click on it, we can see that there are still no restaurants. Let's add some!
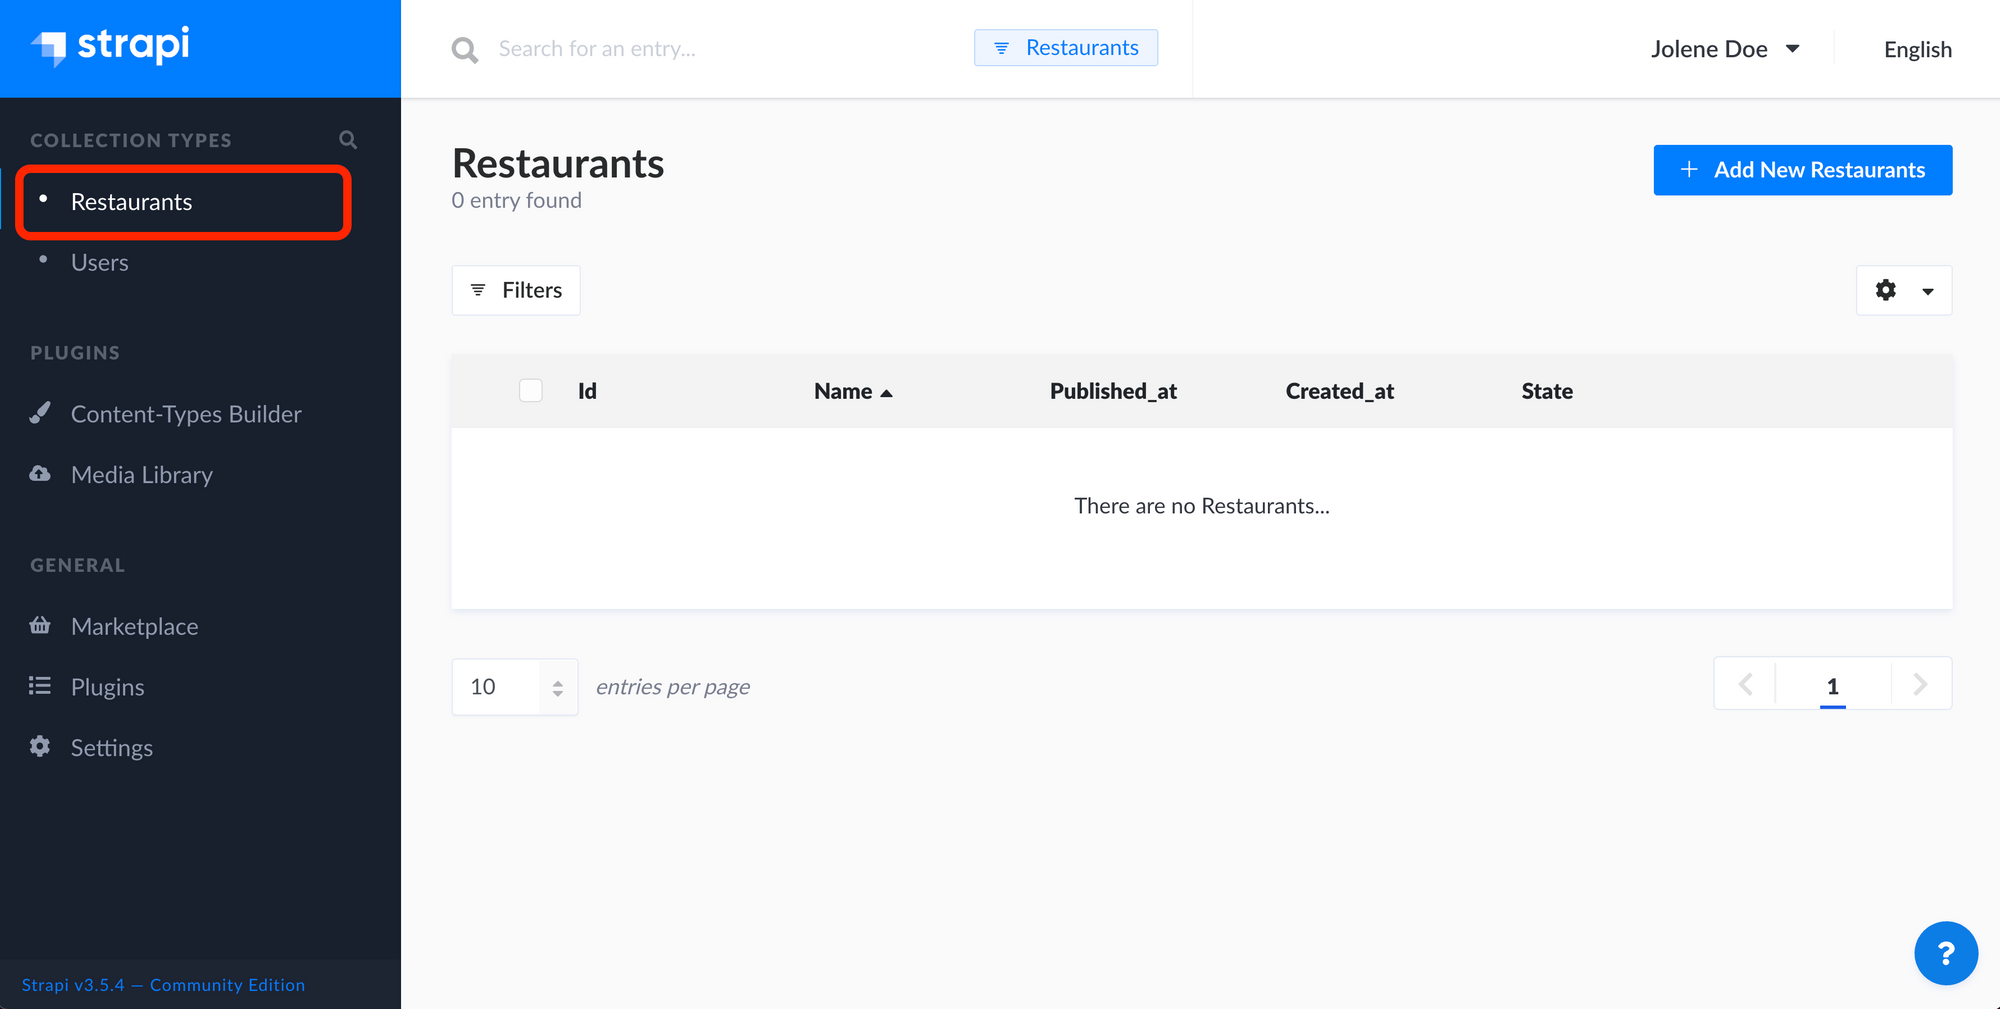
Restaurants collection landing page Click on + Add New Restaurants in the upper-right corner of the dashboard. Now let's add three restaurants, one by one:
- Name:
The Butter Biscotte. Description:All about butter, nothing about health. - Name:
The Slimy SnailDescription:Gastronomy is made of garlic and butter. - Name:
The Smell of BlueDescription:Blue Cheese is not expired, it is how you eat it. With a bit of butter and a lot of happiness.

For each restaurant, you need to press save and then publish. Once the three restaurants have been added, you should end up with the following page:

Restaurants showcasing the restaurants we have addedOur Strapi back end is now up and running! Strapi automatically creates a REST API for our Restaurants collection. Check out Strapi's documentation for all available API endpoints.
Next, it's time to bring Meilisearch into the mix.
Launch and Start Meilisearch
tl;dr: download, install and start Meilisearch.
Want to avoid a local installation? Use our Meilisearch cloud free 14-day trial or our one-click install on DigitalOcean and continue to the next section.
If you made it this far, you should already have an open terminal window running Strapi. If not or if you closed it by accident, please follow this guide, navigate to the directory .../my-app/back that we created, and run the command npm run develop to restart Strapi.
Let's take a moment to open a second terminal window and move to the my-app directory. This window will be used to run Meilisearch.
Inside my-app, create a new directory called meilisearch-binary .
mkdir meilisearch-binary
cd meilisearch-binaryExecute the following command to download Meilisearch in the current directory. If cURL doesn't work for you, consider trying one of the many other methods to download and install Meilisearch.
# Install Meilisearch
curl -L https://install.meilisearch.com | shWe now have the meilisearch binary in our directory. Let's run it!
# Launch Meilisearch
./meilisearchYou should see a big chunk of text (including some ASCII art) confirming that Meilisearch is up and running.

Find the line titled Server listening on. This lets us know where Meilisearch is being served. Once you've found it, open this adress in your browser.
You should arrive on a web page without much to look at.
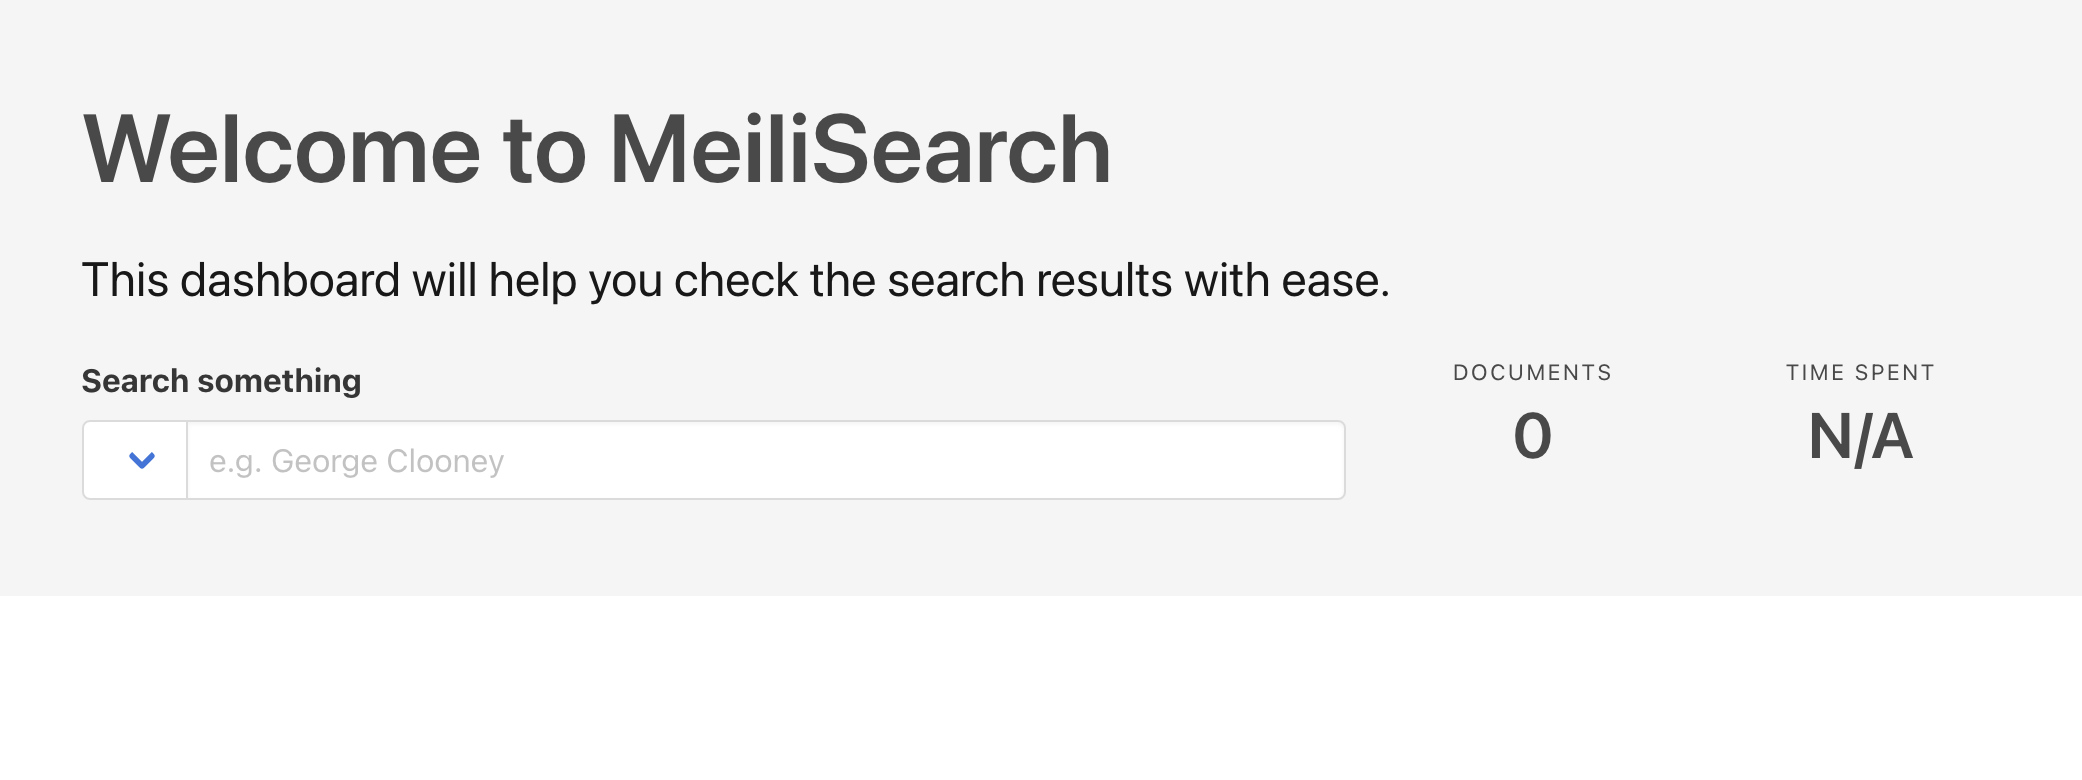
This is the Meilisearch web interface. It will remain empty until we add some data to our Meilisearch instance.
Data, you say? It just so happens we already have some in our Strapi app! Time to connect the two and start searching through our data with Meilisearch.
Connect Strapi and Meilisearch
In order to add the Meilisearch plugin to Strapi, we need to quit our Strapi app. Go to the terminal window running Strapi (make sure it's not the one running Meilisearch!) and push control + c to kill the process.
Once you've done that, move inside the back directory and install the plugin.
cd back
npm install strapi-plugin-meilisearch
After the installation, we have to rebuild our Strapi app before starting it again in development mode, since it makes configuration easier.
npm run build
npm run develop
At this point, our Strapi app should be running once again on the default address: http://localhost:1337/admin/ . Visiting it in your browser, you should see an admin sign-in page; enter the same credentials as before.
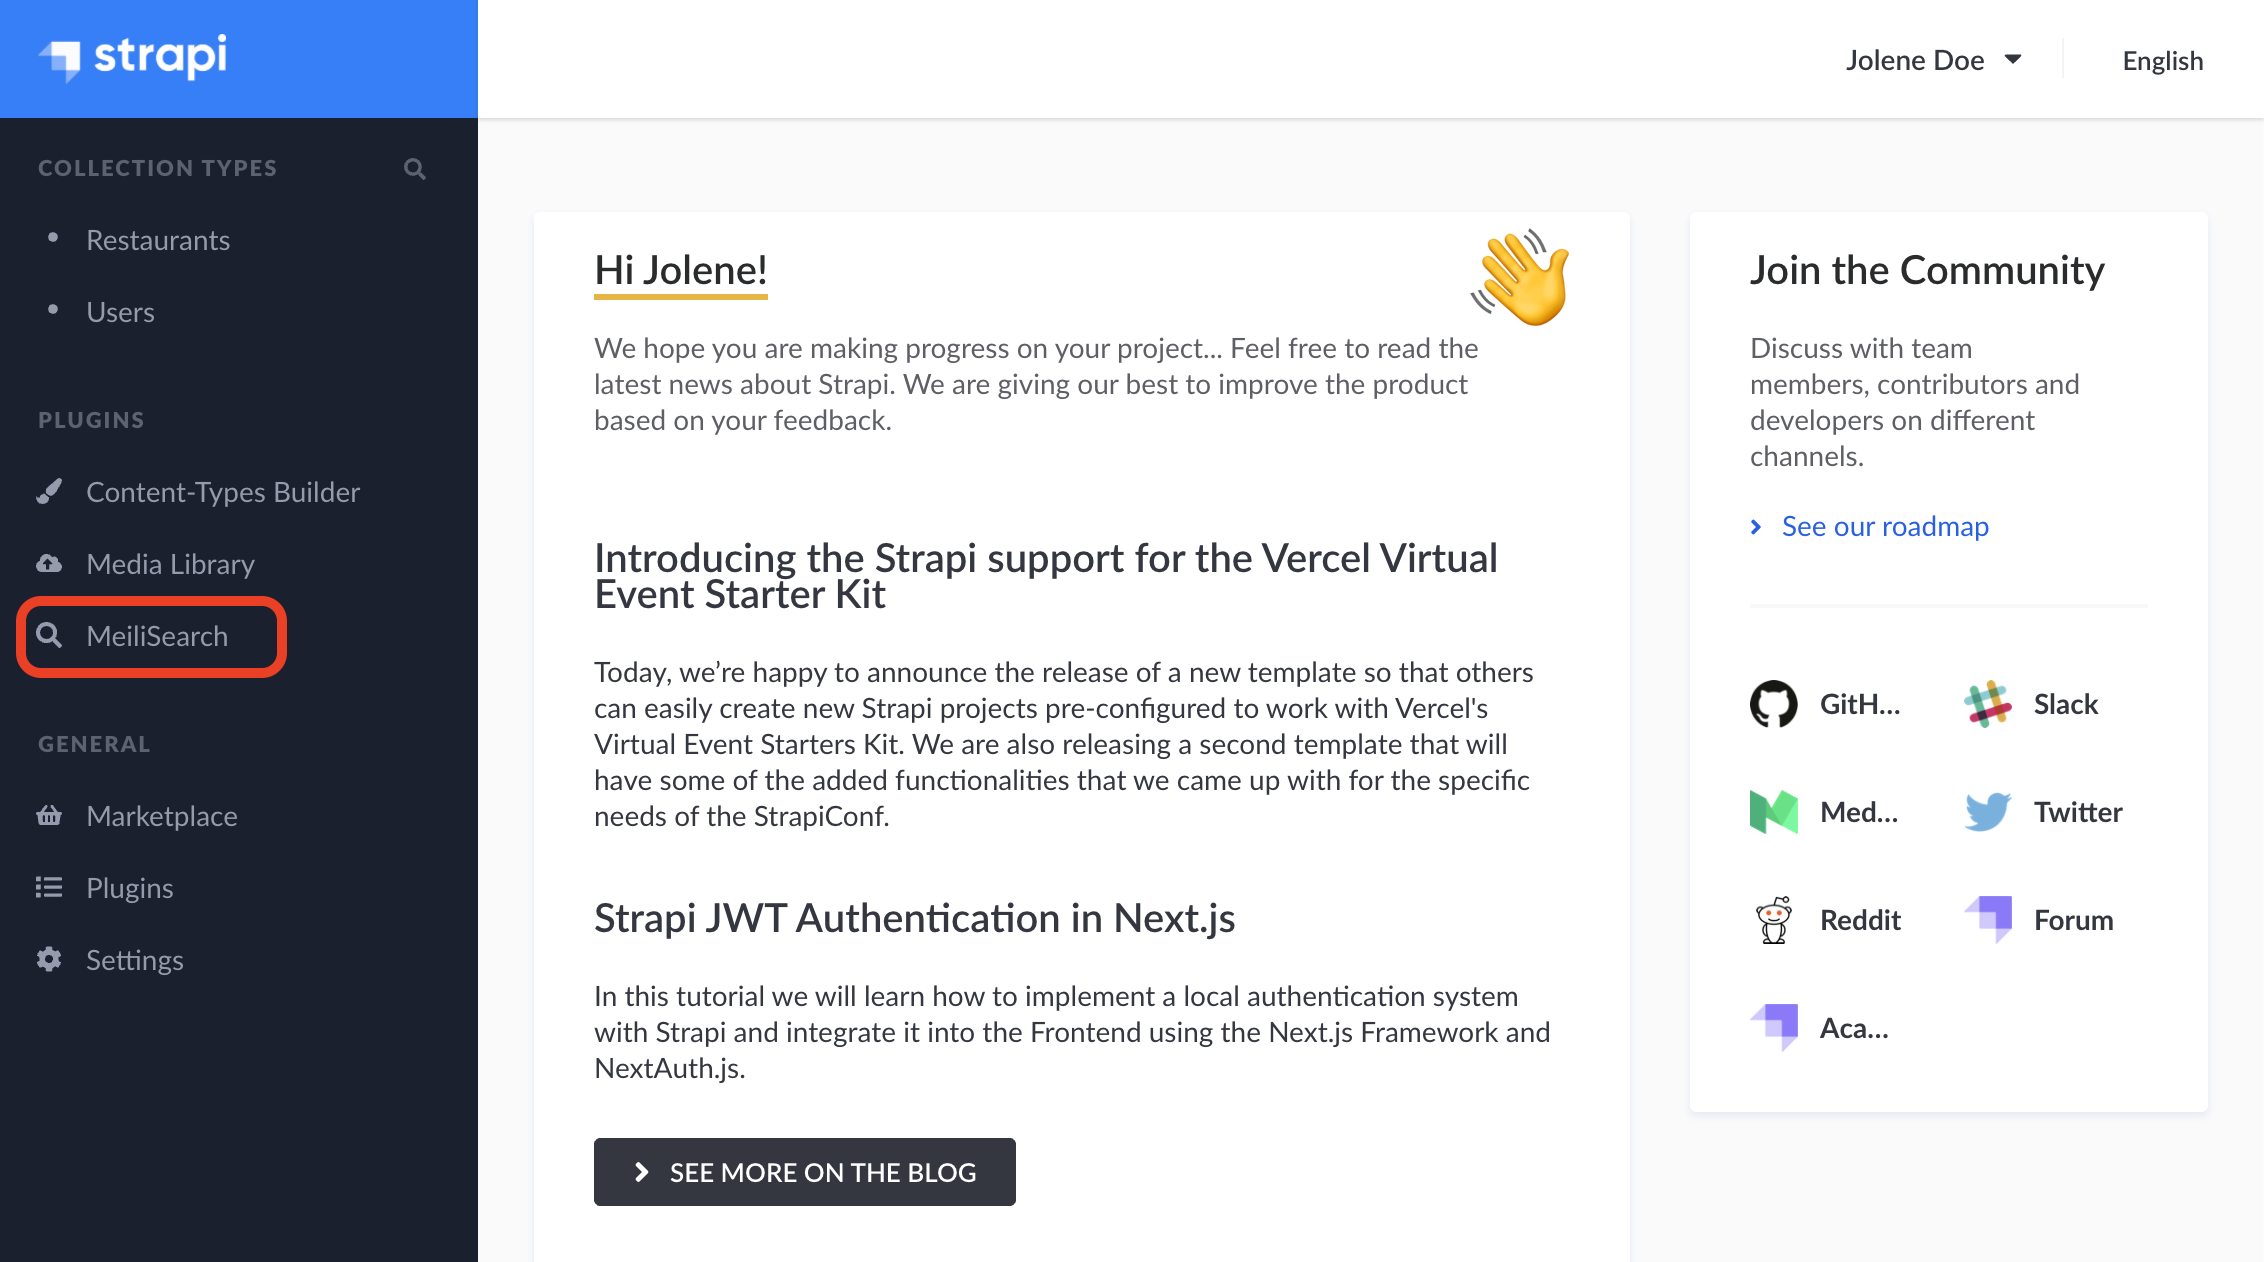
Once connected, you should see a new Plugin on the left side of the screen: Meilisearch! Let's click on it.
Arriving on the Meilisearch plugin page, we can see that the information is split into two sections:
- Meilisearch credentials
- Strapi collections
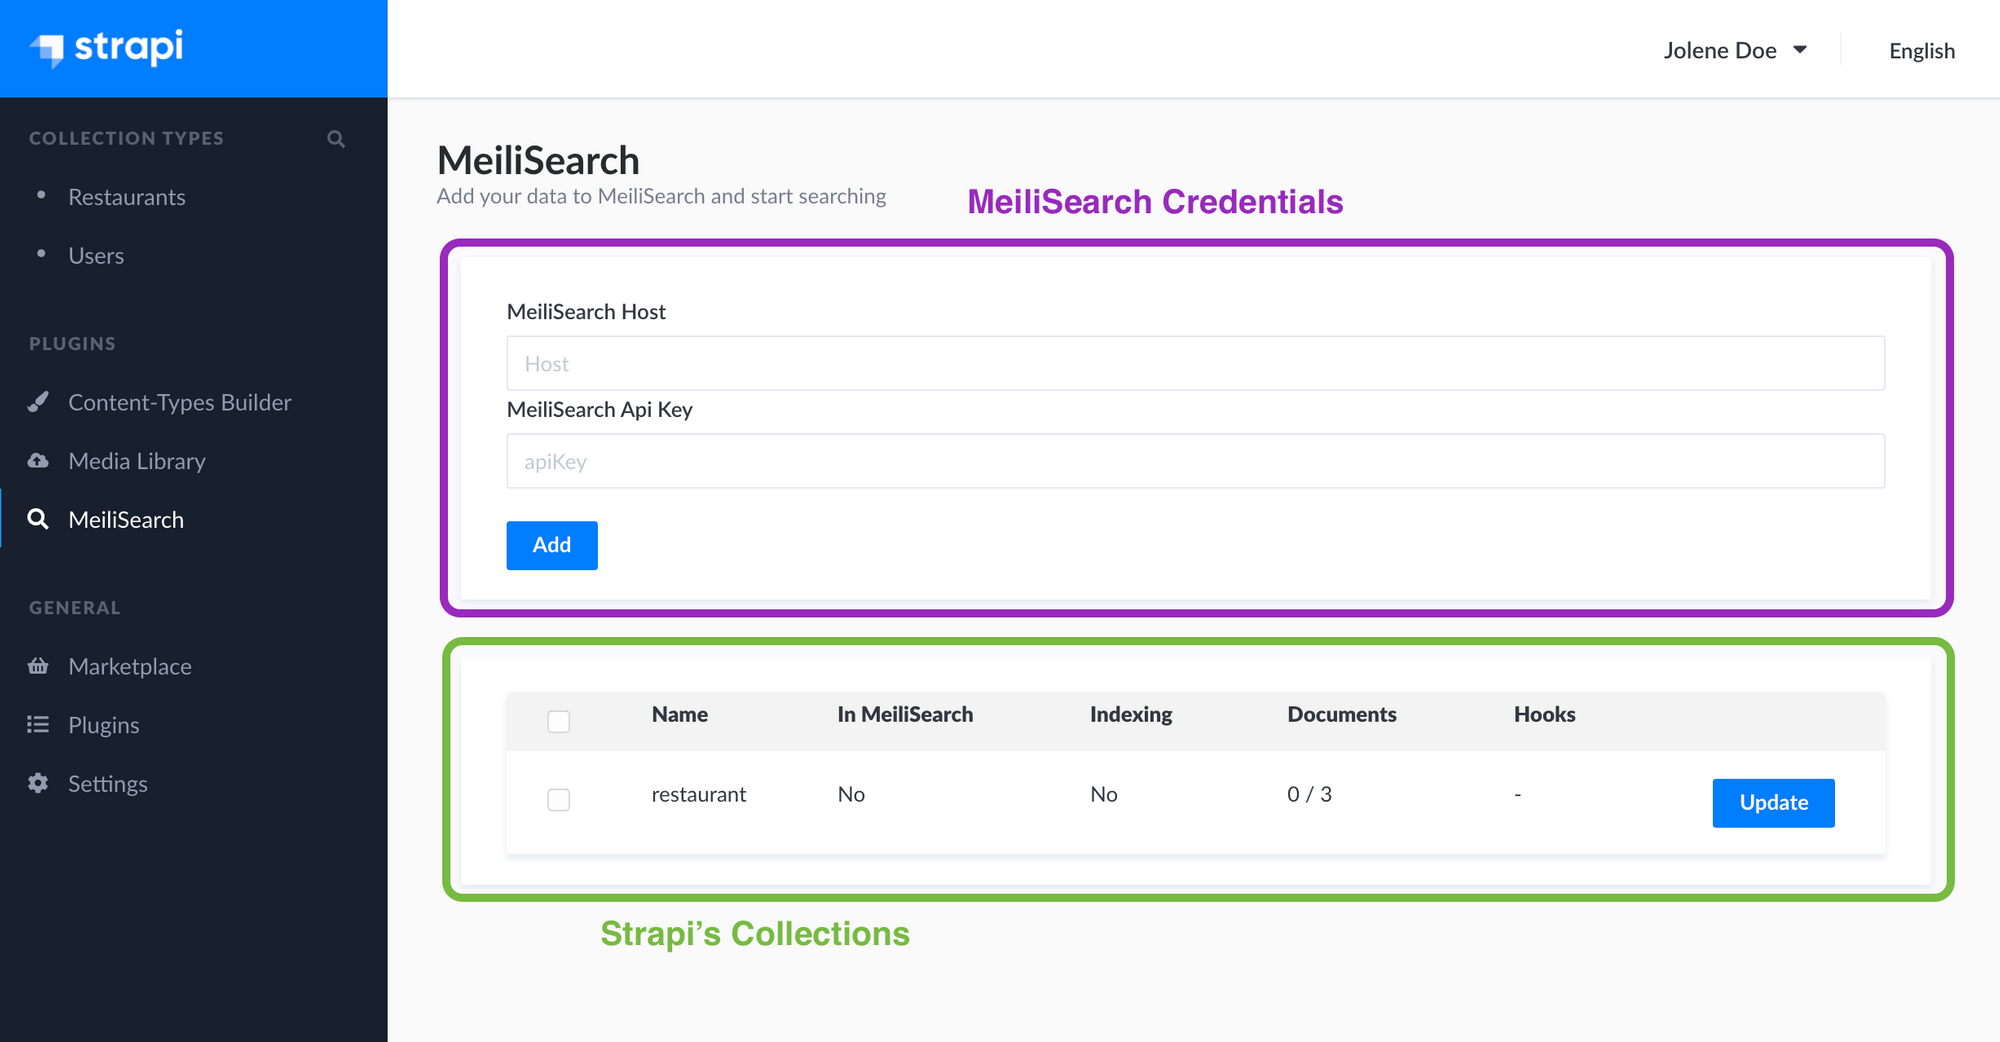
First, we need to add the credentials of our Meilisearch instance so that Strapi knows where to send our data.
You may remember from the previous step that Meilisearch runs on http://localhost:7700 by default. Add this in the Meilisearch Host field, then click Add to connect your Meilisearch instance to Strapi.

Note that we leave Meilisearch Api Key blank because we started Meilisearch without a master key.Great! Now it's time to add your Strapi collection to Meilisearch.
Try clicking on the check box next to restaurant and watch as Meilisearch instantly begins processing your data. Because we only have three documents, the indexing time is practically non-existent.
We can now go back to our Meilisearch host address: http://localhost:7700. After refreshing, you should observe that the page is not as empty as before.
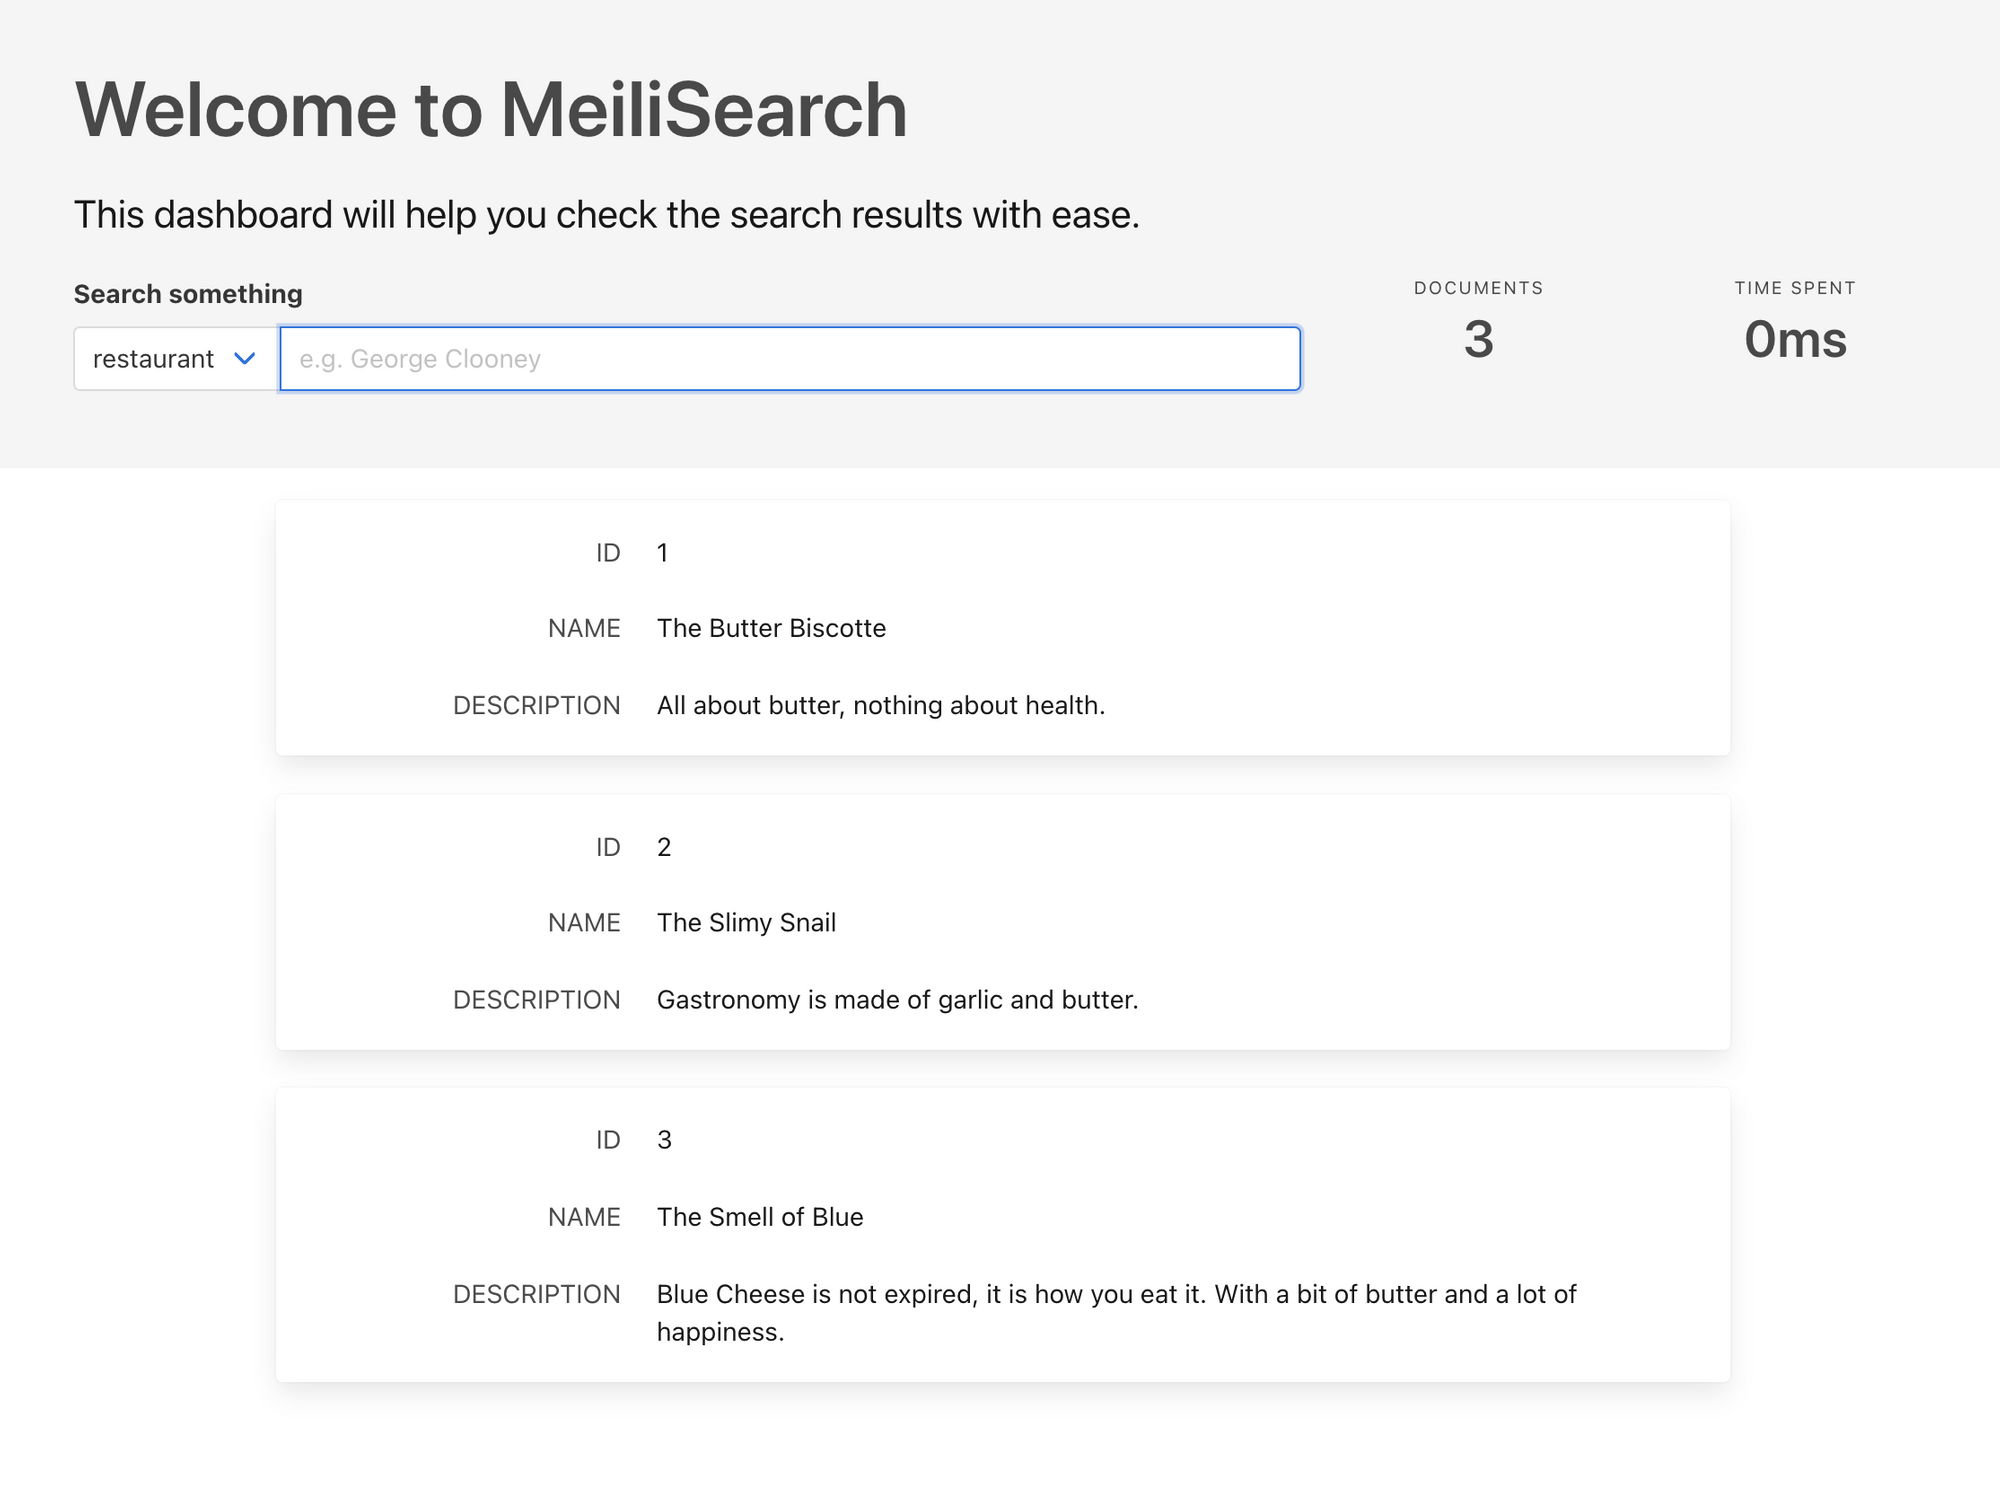
We did it! Try inputting "butter" and check out the results.
Front-end Interface
Using instant-meilisearch, you can implement a front-end search interface in React, Vue, or Angular in no time at all.
Here's an interactive code sandbox (in React) where you can get a feel for the different components. You can't break anything, so feel free to play around!
Conclusion
I hope this article was a pleasant introduction to the new Meilisearch plugin for Strapi. However, this is just the beginning!
If you have any questions, please join us on Discord. If you like Meilisearch, a star on GitHub means a lot. For more information, see our: