

Meilisearch allows you to search through your data in no time at all via a RESTful API. When in development mode, it provides a search preview where you can test your search settings without implementing a front end.
I know it’s beautiful, but unfortunately, it’s only for the developers’ eyes. If you need a front-end search interface for your end-users, you’ve got to do it yourself. But don’t worry, it’s not as difficult as it sounds. In this tutorial, you’ll learn exactly that: how to effortlessly create a custom front-end search. For this purpose, we will be using two main tools:
- InstantSearch.js: an open-source library of front-end search components
- instant-meilisearch: a plugin to establish the communication between your Meilisearch instance and InstantSearch.js
Combined, they allow you to easily integrate a delightful search experience into your front end.
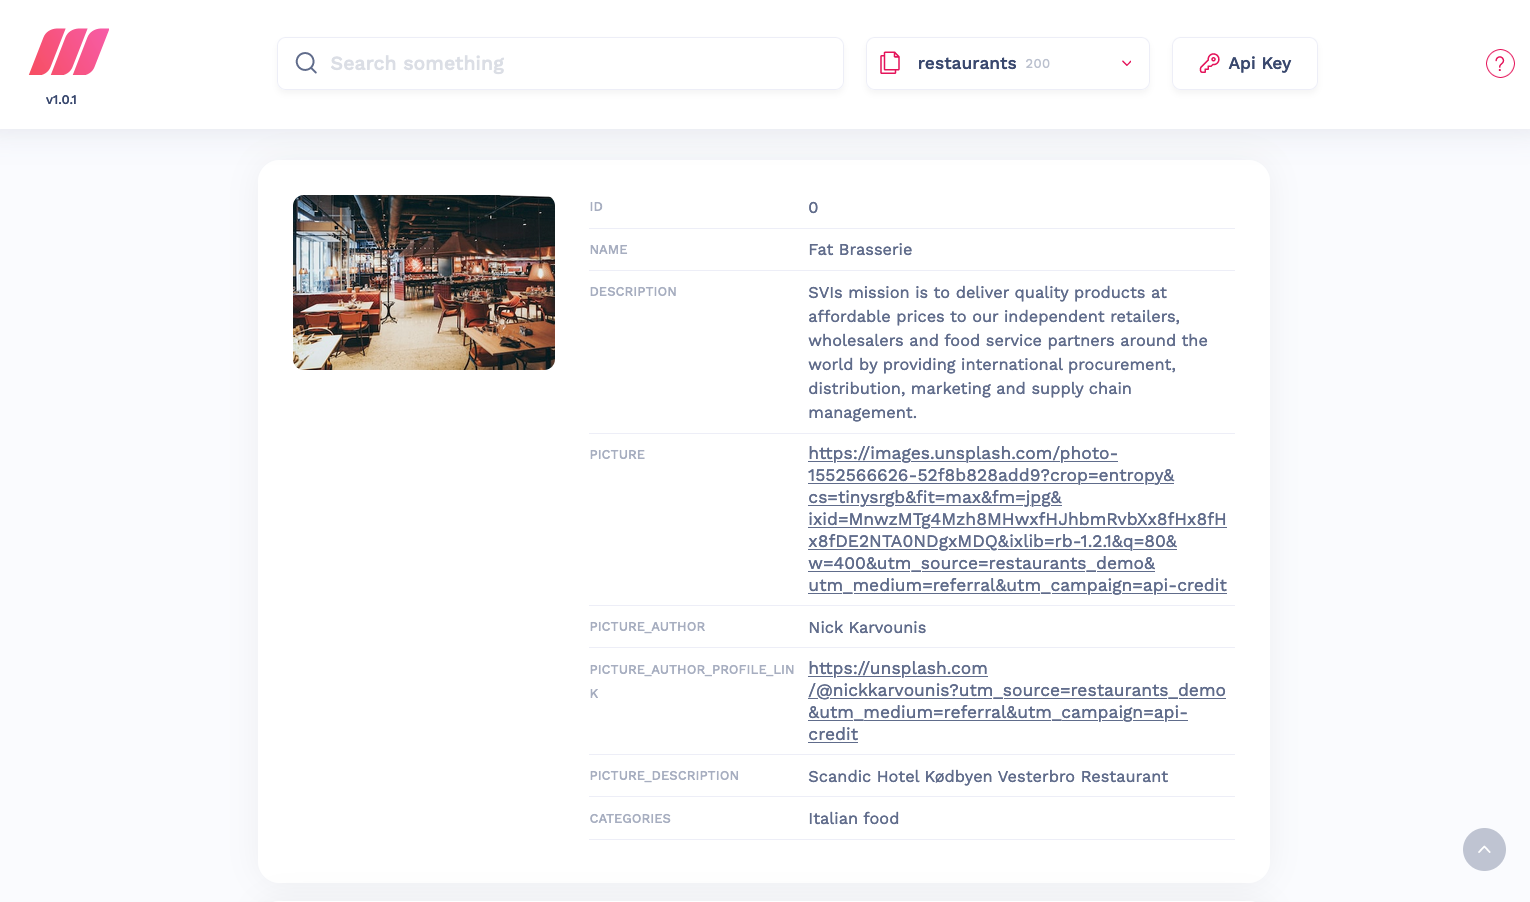
Introducing the dataset
The dataset used in this tutorial directly references the dataset used in our Strapi tutorial. We have supplemented it with more dummy restaurants created thanks to faker, a library that generates fake data. We have added a picture field to the restaurants with random restaurant image URLs from Unsplash. Each restaurant has the following fields:
namedescriptionpicturecategories
We added two extra fields to help us credit the pictures’ authors:
picture_authorpicture_author_profile_link
The front end will look like this:
Requirements
- A running instance of Meilisearch v1 with the restaurants’ dataset indexed. If you need help with this part, you can follow our quick start guide up to the Add documents step. The easiest way to run a Meilisearch instance is using Meilisearch Cloud, there's a free 14-day trial, no credit card required.
- A React environment with the following packages installed:
yarn add @meilisearch/instant-meilisearch@^0.11.1 instantsearch.css@^8.0.0 react-instantsearch-dom@^6.39.1
To easily create a single-page React application, you can use Create React App.
Code
For this example, we only need two files: App.js and index.js. App.js will contain your app's code, and index.js will initialize your React App.
Your index.js file should look like this:
import React from 'react';
import ReactDOM from 'react-dom';
import './index.css';
import App from './App';

ReactDOM.render(
  <React.StrictMode>
    <App />
  </React.StrictMode>,
  document.getElementById('root')
);
You shouldn't have to modify index.js at all, so let's take a look at the code for App.js.
import "instantsearch.css/themes/algolia-min.css";
import React from "react";
import {
  InstantSearch,
  InfiniteHits,
  SearchBox,
  Stats,
  Highlight
} from "react-instantsearch-dom";
import "./App.css";
import { instantMeiliSearch } from "@meilisearch/instant-meilisearch";

const searchClient = instantMeiliSearch(
  "http://localhost:7700",
  ""
);

const App = () => (
  <div className="ais-InstantSearch">
    <h1>Restaurants Demo with Meilisearch</h1>
    <InstantSearch indexName="restaurant" searchClient={searchClient}>
      <Stats />
      <SearchBox />
      <InfiniteHits hitComponent={Hit} />
    </InstantSearch>
  </div>
);

const Hit = ({ hit }) => (
  <div key={hit.id}>
    <div className="hit-name">
      <Highlight attribute="name" hit={hit} />
    </div>
    <p className="hit-categories"><Highlight attribute="categories" hit={hit} /></p>
    <div className="hit-image">
      <img src={hit.picture} alt={hit.name} width="200px" />
      <p className="image-credit">Picture by <a href={hit.picture_author_profile_link}>{hit.picture_author}</a> on <a href="https://unsplash.com/?utm_source=restaurants_demo&utm_medium=referral">Unsplash</a></p>
    </div>
    <div className="hit-description">
      <Highlight attribute="description" hit={hit} />
    </div>
  </div>
);

export default App;
Let's dissect it component by component.
Importing the required components
The following lines of code import the components and the client we need for search, along with the style.
import "instantsearch.css/themes/algolia-min.css";
import React from "react";
import {
  InstantSearch,
  InfiniteHits,
  SearchBox,
  Stats,
  Highlight
} from "react-instantsearch-dom";
import "./App.css";
import { instantMeiliSearch } from "@meilisearch/instant-meilisearch";
Initializing the search client
Next, we need to initialize the search client that will communicate with Meilisearch. Add your Meilisearch credentials: host and API key, as the first and second parameters of the instantMeilisearch function. If you have followed our quick start guide to the letter, your Meilisearch host should be http://127.0.0.1:7700. Since we did not set any API key, we can leave the second parameter as an empty string.
const searchClient = instantMeiliSearch(
  "http://localhost:7700",
  "" //your Meilisearch API key, if any
);Adding our components
The following code adds the different components we need:
const App = () => (
  <div className="ais-InstantSearch">
    <h1>Restaurants Demo with Meilisearch</h1>
    <InstantSearch indexName="restaurant" searchClient={searchClient}>
      <Stats />
      <SearchBox />
      <InfiniteHits hitComponent={Hit} />
    </InstantSearch>
  </div>
);

const Hit = ({ hit }) => (
  <div key={hit.id}>
    <div className="hit-name">
      <Highlight attribute="name" hit={hit} />
    </div>
    <p className="hit-categories"><Highlight attribute="categories" hit={hit} /></p>
    <div className="hit-image">
      <img src={hit.picture} alt={hit.name} width="200px" />
      <p className="image-credit">Picture by <a href={hit.picture_author_profile_link}>{hit.picture_author}</a> on <a href="https://unsplash.com/?utm_source=restaurants_demo&utm_medium=referral">Unsplash</a></p>
    </div>
    <div className="hit-description">
      <Highlight attribute="description" hit={hit} />
    </div>
  </div>
);

export default App;
Let's go step-by-step to understand what each component does:
<InstantSearch>: a mandatory wrapper for our instant search. We need to provide thesearchClientas a prop to this component, along with the index name<Stats>: shows the number of documents and the time it took Meilisearch to find the search results<SearchBox>: adds the search bar<InfiniteHits>: a wrapper around the differentHits. It takesHit(declared in line 29) as a propHit: a custom component we created to determine which attribute of our restaurants we would showcase
The Hit component
const Hit = ({ hit }) => (
  <div key={hit.id}>
    <div className="hit-name">
      <Highlight attribute="name" hit={hit} />
    </div>
    <p className="hit-categories"><Highlight attribute="categories" hit={hit} /></p>
    <div className="hit-image">
      <img src={hit.picture} alt={hit.name} width="200px" />
      <p className="image-credit">Picture by <a href={hit.picture_author_profile_link}>{hit.picture_author}</a> on <a href="https://unsplash.com/?utm_source=restaurants_demo&utm_medium=referral">Unsplash</a></p>
    </div>
    <div className="hit-description">
      <Highlight attribute="description" hit={hit} />
    </div>
  </div>
);<img>takeshit.pictureas prop to show the picture of each restaurant- The
<Highlight>component takes the attribute as the prop and if there are matches of the query in that attribute they'll be highlighted. In the first case, name, in the second, categories, and in the third case, description
And that's it; with just a few lines of code, we have built a search interface. I leave it to you to give it a personal touch and embellish it with a little CSS 💅
Conclusion
To go further, we could use filters to create a faceted search interface and allow users to refine search results based on restaurant categories. But I wanted to keep this tutorial as simple as possible to help you understand how easy it is to integrate InstantSearch.js with Meilisearch to create a great search experience!
👉 Not using React? Don’t worry; we have other front-end integrations. Check out the list on GitHub.
Want to know more about the customization possibilities offered by Meilisearch? You can take a look at the Meilisearch 101.
If you have any questions, please join us on Discord; we are always happy to hear from you. If you want to support us, you can star our GitHub repository or share our work 🥰